
In the previous article about Hotjar, we talked about theoretical issues related to the Hotjar tool, such as heat maps, recordings and the process of passing forms. You can read the article if you click on this link
More about User Experience (UX) in general please check on:
How to make the best user experience (website UX)?
In this article, we will focus on the practical part, i.e. how to properly prepare the ground for tracking in the online store.
Step 1. Hotjar tracking code installation
The first thing you need to do is to install tracking codes on your site. There you have a few options.
After properly creating a website account in Hotjar, it will show you the field with the required tracking code, which should be pasted in the <head> section of our store code:
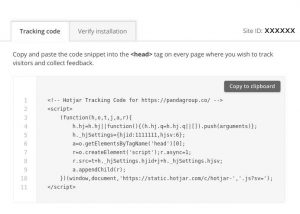
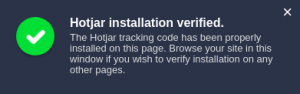
After the appropriate paste, you can go to the Verify installation field.
There are some other options for tracking code installation
Suggestion: Sometimes Hotjar needs a few minutes after pasting the code onto our site to catch it. In this case, even if we paste the Hotjar code correctly in the <head> section, it will be necessary to wait a few minutes before verifying the domain.
After proper installation of the remarketing code, we can go to the most important issue: creating thermal maps, recordings and the visualization of the path of the steps in the form.
Step 2. Hotjar thermal maps creation
When creating a heat map for online stores, it is necessary to select the appropriate pages. In the free version, Hotjar allows you to create 3 heat maps. In the case of e-commerce, I recommend creating a heat map for the most important websites from the business point of view:
- Homepage
- Cart / Product Page
- Checkout
There are three types of heatmaps in Hotjar:
- click
- move
- scroll
- Let’s start with creating a heatmap for the home page. We give the heatmap a name.

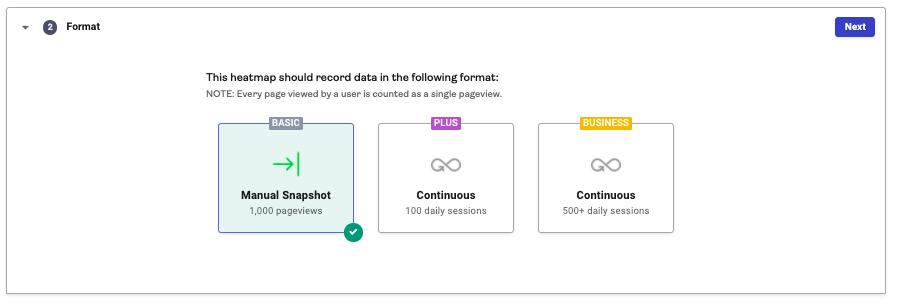
2. We give the heatmap a size (the free version allows you to measure 1 000 views). The heatmap size is the number of made and saved entries on the store’s homepage. Not every input can be monitored.
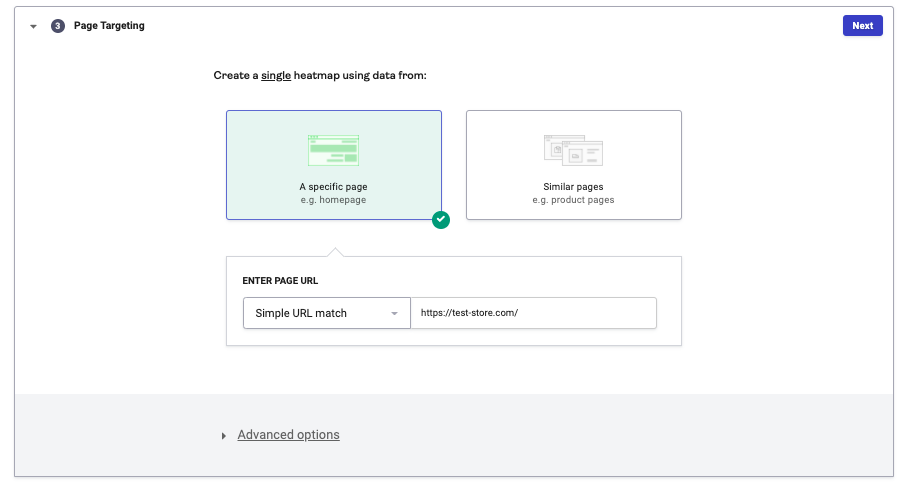
3. Page targeting allows you to choose one of the options for creating heat maps. The targeting option used in Panda Group is a page view, which works well for online stores. For the main page, the address looks like this:
4. Review & Save lets you save the set heatmap and start creating a heat map for a given page.

Step 3. Hotjar recording
User recordings are another important point in assessing customer behaviour in our online store. You could even suggest a statement that is the most important one.
Let’s start creating new recordings:
The basic version of Hotjar allows you to create 100 recordings. In the case of a small shop or testing the tool, this quantity is optimal, because even several recordings will allow us to learn about the customers’ behaviour for a given store. The maximum number of recordings is 300, but you can delete old, obsolete recordings. 🙂
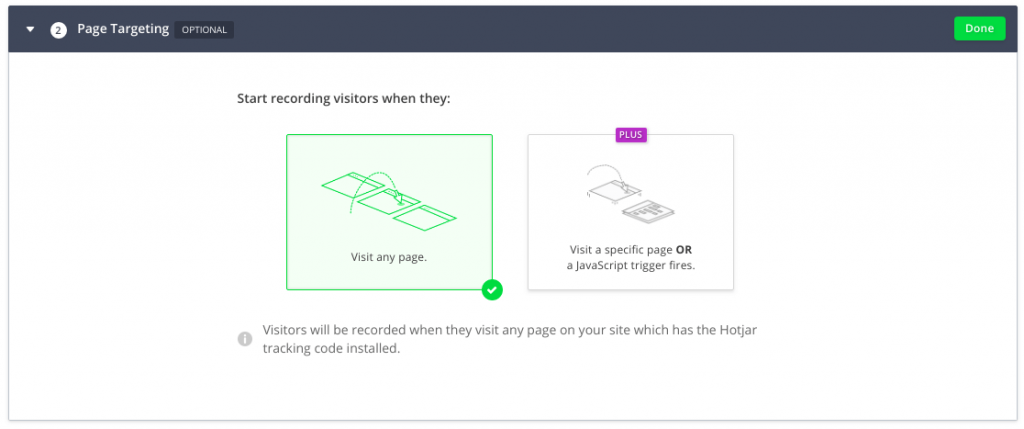
Another thing is to choose the right recording start. Here we will focus on recording all pages. If you had to check only one of the subpages in Hotjar, you should buy a Plus account.
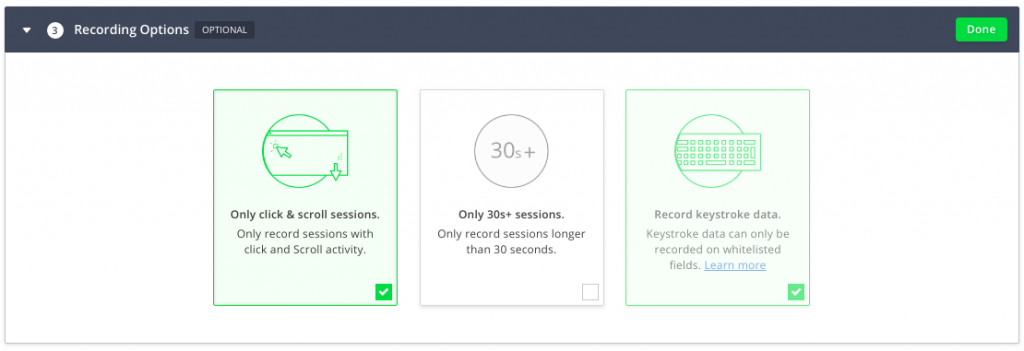
The third option in the recording creation panel is the ability to save only recordings that meet selected conditions, such as sessions only with clicks and page scrolls, 30 seconds + sessions and recording of the users who enter the text.
To fulfil the needs of online stores, the optimal choice is to target clicks + scrolling and enter the text on the site – which gives the majority the opportunity to save shopping sessions – fill in the purchase form.
To save the information, go to the next step and click start recording. The recordings will be automatically saved in the Hotjar panel.
Step 4. Hotjar forms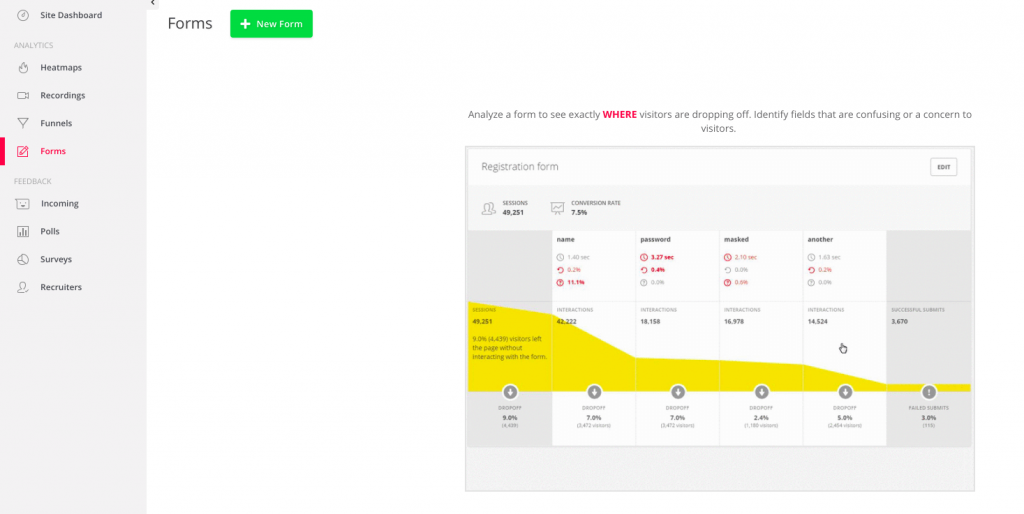
Forms are also used by our team to acquire knowledge of whether they are easy to fill in and readable on the basis of the dropoff rate.
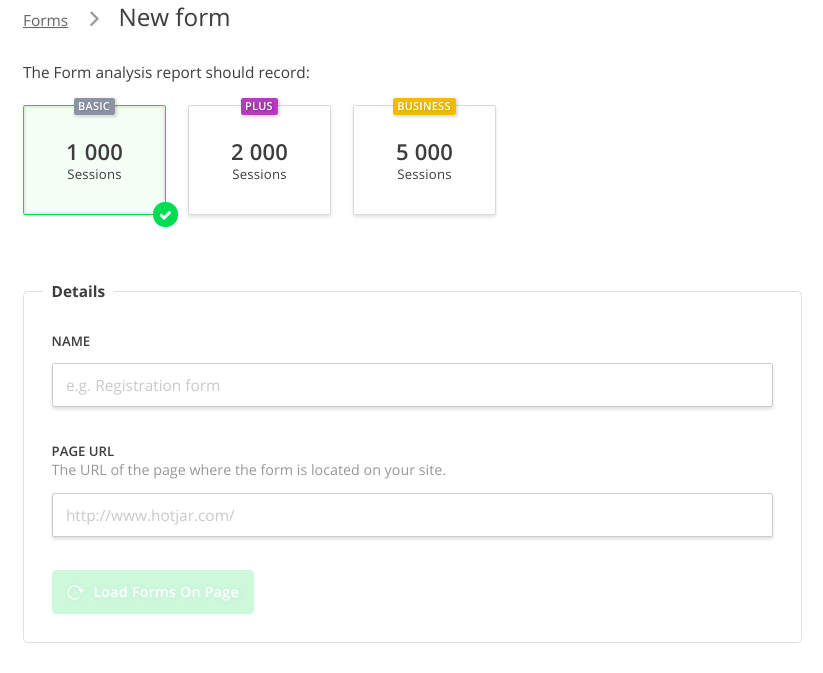
The addition to the form’s analytics starts with choosing the number of views – standard version – 1000 sessions. Next, we give the name to the form and the URL where the tool will search for <form> tags. If you find the right tags, a list of available forms to add will be displayed.
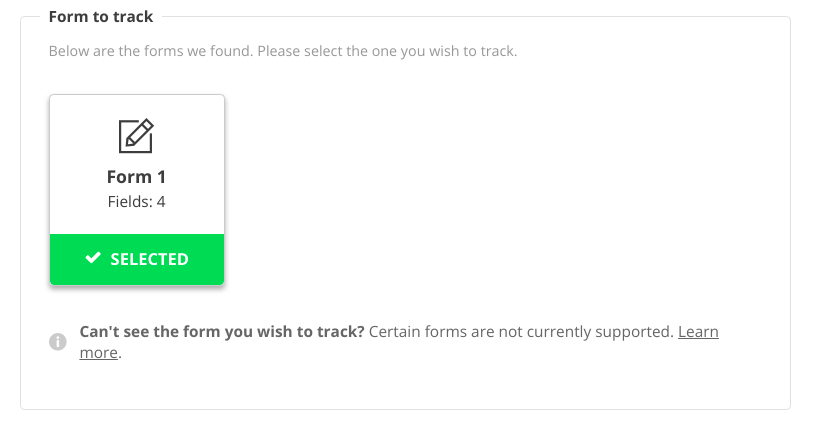
After selecting the appropriate form, we get the opportunity to look at the fields. If all of them agree with the fields we are going to track and we are sure that this is the right form, then we create the analytics for the form by pressing the Create Form button.
Hotjar tool conclusion
We hope that this article will help you create the right measurement of the paths of users visiting your online store, which will translate into an increased conversion!
If you have a question regarding the implementation of Hotjar in E-commerce, please contact us, we will advise you 🙂
Good luck with further optimizing the online store!
 (1 votes, average: 1.00 out of 1)